Installing a New 5200 Bottom
Part 1: The Ribs
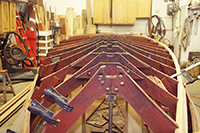
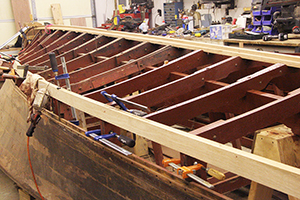
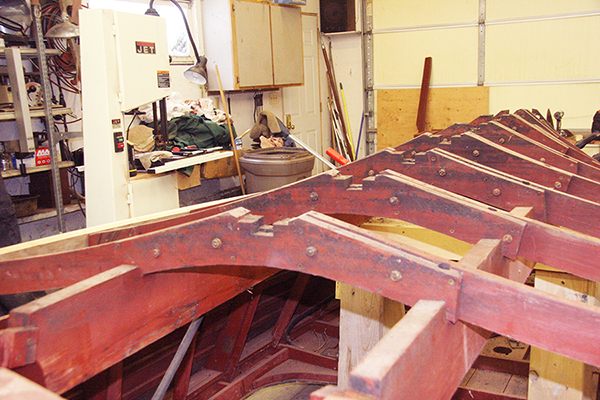
This series of “How To” articles will feature Mitch’s personal 20′ Custom Runabout as an example. Click here to see a fully restored 1948 20′ Chris Craft Custom Runabout. At left is a picture taken from the front of the boat, showing the shape of the ribs from front to back.
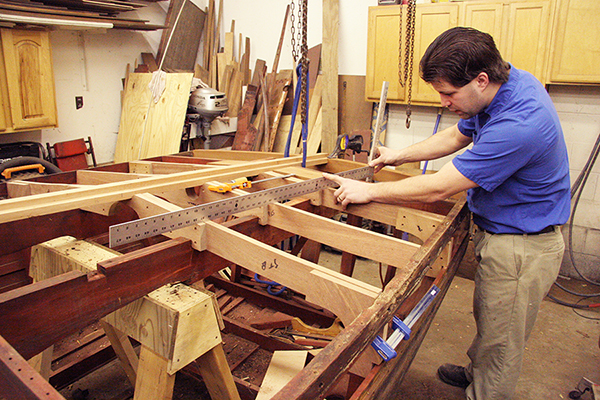
The new keel is set temporarily in place in the above picture, and Tony (Shipwright Extraordinaire!) is checking the fit of new ribs (or frames) at the aft end of the boat.
3-Piece Frames: Chris-Craft runabout bottom frames have three pieces: Two ribs and one “frame tie.” The central “frame tie” joins the right and left rib sections together. The “knees” are angled pieces that bolt through the chine at the outer perimenter of the hull. They are also bolted to their corresponding side rib and bottom rib. The frames and keel were originally mahogany, and we are keeping them original.
Of the three frames shown above, two are “main frames,” which have knees, and one is an “intermediate frame,” which does not have knees.
Also note (above) the two “stingers” which are one-piece members running from the front to the back of the boat with notches cut out to receive the frames.
Forget About Using Oak: Some people mistakenly think they can “improve” their classic wooden boat by replacing bottom elements with oak, but oak rots and warps more easily. Besides that, oak is difficult to shape, drill and screw.
Beginning At the Back
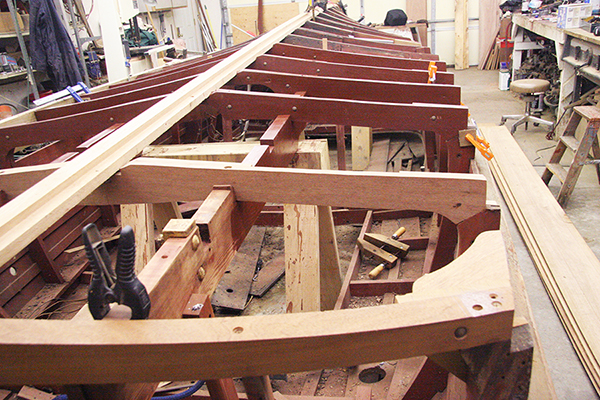
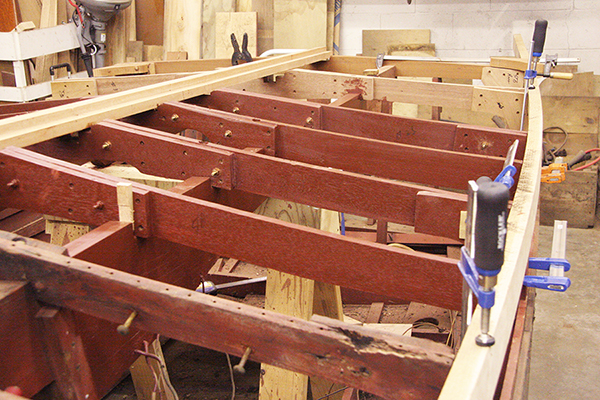
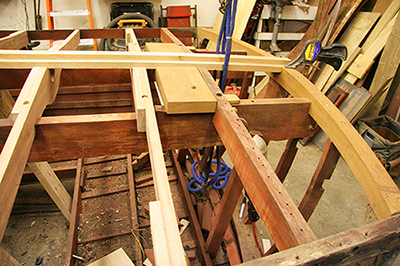
At left you are looking at the back (aft) end of the boat. The transom is on the right. The picture shows two new ribs and one original rib. The first rib was skipped, as it is best to replace ribs alternately, then come back in fill in later.
Note the mahogany block where the strut will go through the bottom. An especially dense piece of mahogany was chosen for this important structural member.
Countersunk holes go through the frames and the stringers. They are countersunk on both top and bottom in order to receive silicon bronze carriage bolts. When the boat is right-side-up, the nuts will be at the top of the carriage bolts. They are very difficult to tighten later, so do it right the first time. 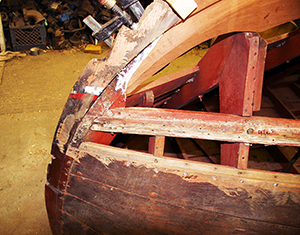
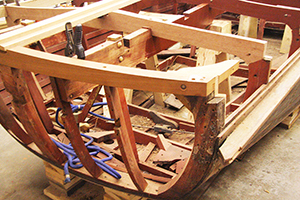
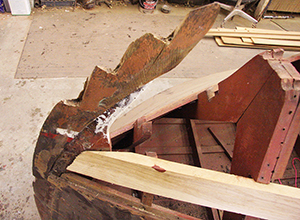
The original stem in this 1948 20′ Custom Runabout shows its age. The notches you see are not original, but they are the result of pieces falling out as the boat was turned over and the bottom was peeled off.
You will see pictures of the new pieces as the stem and gripe are replaced later on in this series on 5200 bottoms.
Fitting a Frame Knee
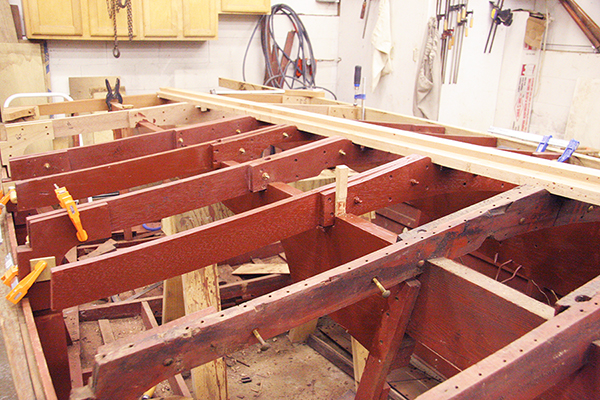
Above, the orange clamps are holding a new knee in place. After fitting, we will apply 3M 5200 caulk, and it will be screwed and bolted.
A freshly cut rib is being fitted and temporarily installed on the starboard side above. The keel (backbone of bottom) is just laying there for now.
Rotted wood can be seen in the original bottom frame above.
Chines: The chines have been temporarily installed at left. The notches you see in the stem are the result of wood chunks falling out during handling. The chines form the transition from the bottom of the hull to the sides. They are made of mahogany, the same as the rest of this boat.
A new unpainted knee is shown in the picture at left.
Old original ribs above with the keel removed.
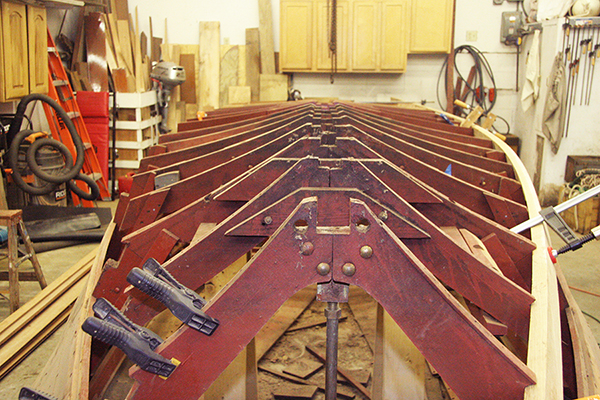
The Lift Ring rod can be seen above. A bracket goes around the aft side of the ribs, which does not show here. Chris-Craft made their lift rings capable of supporting the boat in a boat house.
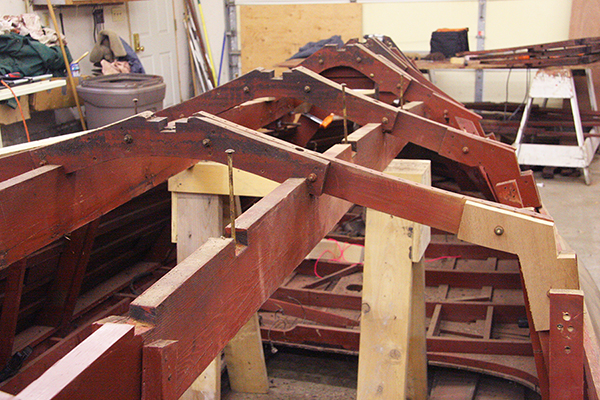 Above: The original bolts were left in place for reference later in choosing the correct size replacement bolt. A new knee has been fitted and bolted in place.
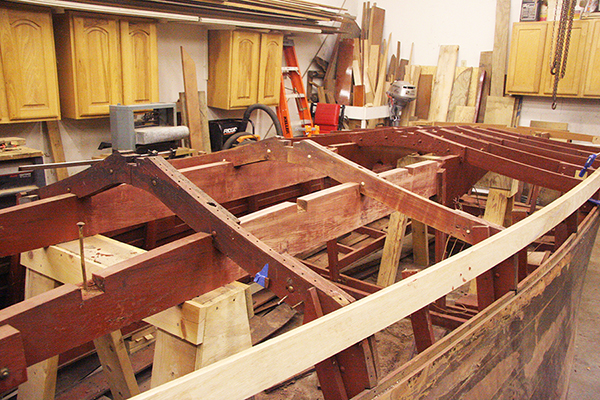
New and Old Ribs for a 3M 5200 Bottom
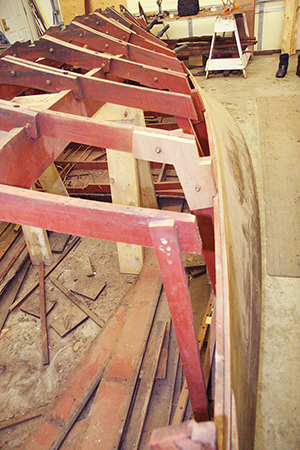
Above is a view of both new and original ribs with the new chine in place.
Stayed tuned for Part 2 of this series…
