 Installing a New 5200 Bottom
Part 2: Installing the Plywood Inner Hull
This series of “How To” articles features Mitch’s personal Chris Craft 20′ Custom Runabout as an example. Go here to see an example of a fully restored 1948 20 ft Chris Craft Custom Runabout.
The new keel was bedded in 5200 and bolted into place before work was begun on the plywood inner hull.
Bilge Paint:
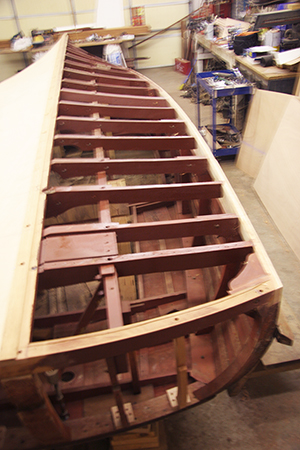
You will notice that the ribs have been painted with bilge paint. It is important to seal the ribs with a heavy coat of bilge paint to create a barrier against grease, oil and gasoline. Oil laying in the bottom of a boat will destroy the wood and break down the fibers, if left there for a long time.
The chine and keel surfaces where the plywood inner hull will be bedded are NOT coated with paint, however. That is because 3M 5200 bonds better to bare wood than to painted wood. You need a really good water-tight seal at the chine and keel, as that is the most common place for water to seep into a boat with a new bottom. Every boat needs a bilge pump, but if the 5200 bottom is done right, your automatic bilge pump will rarely come on.
Temporary Fitting of Plywood Inner Hull
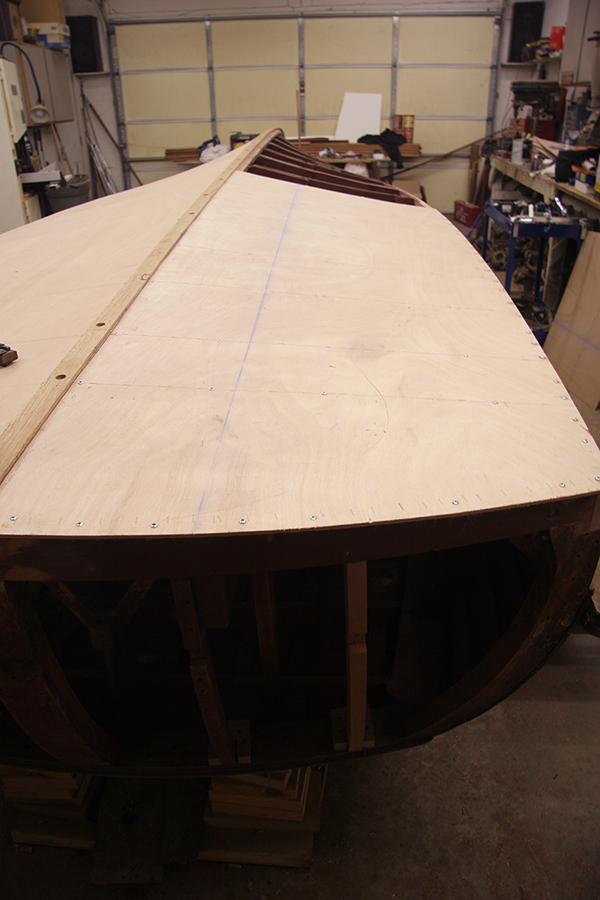
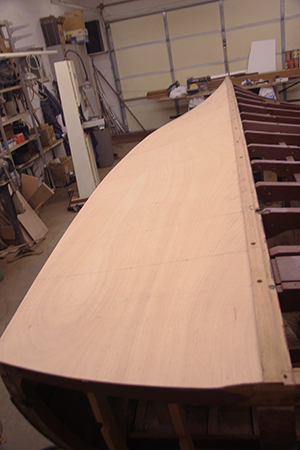
Before these pictures were taken, the plywood inner hull pieces were cut, fitted and temporarily installed with pan-head screws, using as few screws as possible.
Permanent Installation of Plywood Inner Hull
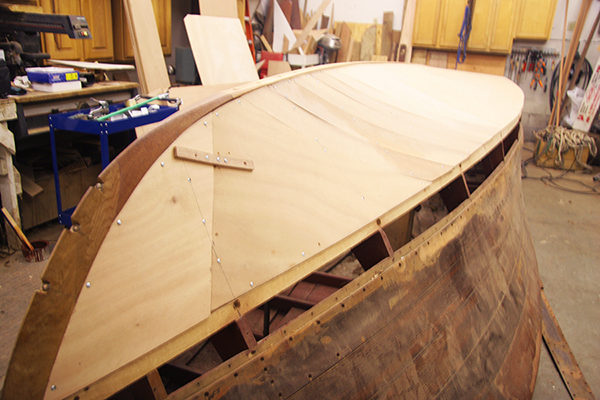
The plywood pieces were removed after initial fitting, so that 3M 5200 caulk could be applied to the bonding surfaces of the frames. The picture at right shows where Mitch has reinstalled the plywood pieces with 5200 caulk on the starboard half of the boat bottom. He used the same pan-head screws in the same holes as were used for the temporary fitting. These screws will be removed after the caulk has cured.
Mitch uses British Standard 1088 marine plywood (BS1088). This is a higher grade than regular marine plywood. The cheaper plywood uses different glues, and can delaminate, and should never be used for a boat bottom. You may find that BS1088 plywood is not available in your area. If that is the case, you may have to have it shipped from another state. But don’t even think about using the wrong plywood.
Above you can see the new white oak stem, Honduras mahogany gripe and Philippine mahogany keel. Originally Chris-Craft used Honduras mahogany for this entire boat. We used Philippine for the keel because it was available in the length needed. Likewise, the stem required a thick piece of wood that was not readily available in Honduras mahogany. A lot of restorers perfer white oak for the stem, as it is a very hard wood, but others prefer the densest, darkest piece of mahogany available, as dark pieces of mahogany are more rot resistent. The higher rot resistence of the darker pieces may be due to more resin in the wood, but I have not been able to find any verification of that idea, so if anyone can find a scientific source to back this up, please post it here. Neither the stem nor the gripe in these pictures are stained, you are seeing the natural wood color.
 Above you can see a close up of the temporary pan headed screws and plastic staples that Mitch used. The plastic staples are usefull for reducing the number of temporary screws needed. Also, you can screw right through them when you install the outer planking.

